

Getting Started With React.js
A quick introduction to React with creating a React app


Introduction to React
React is a JavaScript-based library used for making static Single Page Web Applications. This was developed by Facebook. This helps in breaking down complex UI into simpler components. ReactJS has a high market in the field of Web development and it's increasing every day.
ReactJS is often compared with Angular, Vue, and other JavaScript libraries and frameworks. People often call it a framework of JavaScript when compared with Angular as Angular is a JavaScript framework, but it's eventually a library and not a framework.
If you don't know the difference between a framework and a library, then check out this article.
Tools needed before installing ReactJS 🛠
You need to have the following things installed before you start creating a React Application.
- NodeJS - Download the latest version of NodeJS
- A code editor like Visual Studio Code
- A Chrome extension - React Dev Tools
I recommend you to be in Chrome while you're working with React for better experiences.
Do you need to learn JavaScript before React? 🤔
If you're new to web development and haven't learned JavaScript but you're thinking to come out of the hell from working with HTML CSS on multiple pages for a single website by switching to ReactJS, then wait a while. If you want to do so, then you can do it but you'll face many problems if you don't know anything about JavaScript and finally give up with React being depressed.
So, I'll always recommend you to learn some basics of JavaScript and then jump over to ReactJS. Also, you should know that React is made on top of JavaScript.
Creating Our First React App 👩💻
Let's create a React app using the following steps:
- Open up a folder in your terminal.
- Type
npx create-react-app my-appin your terminal and hit Enter. This will take some time to install React and some other packages and dependencies to make your app ready.

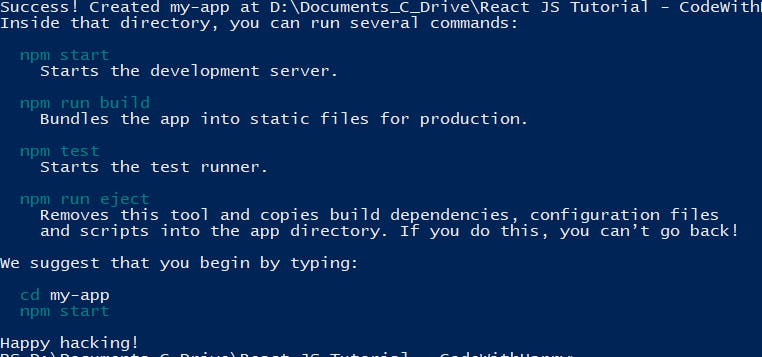
- Go inside the folder by typing
cd my-appin your terminal. - Now use
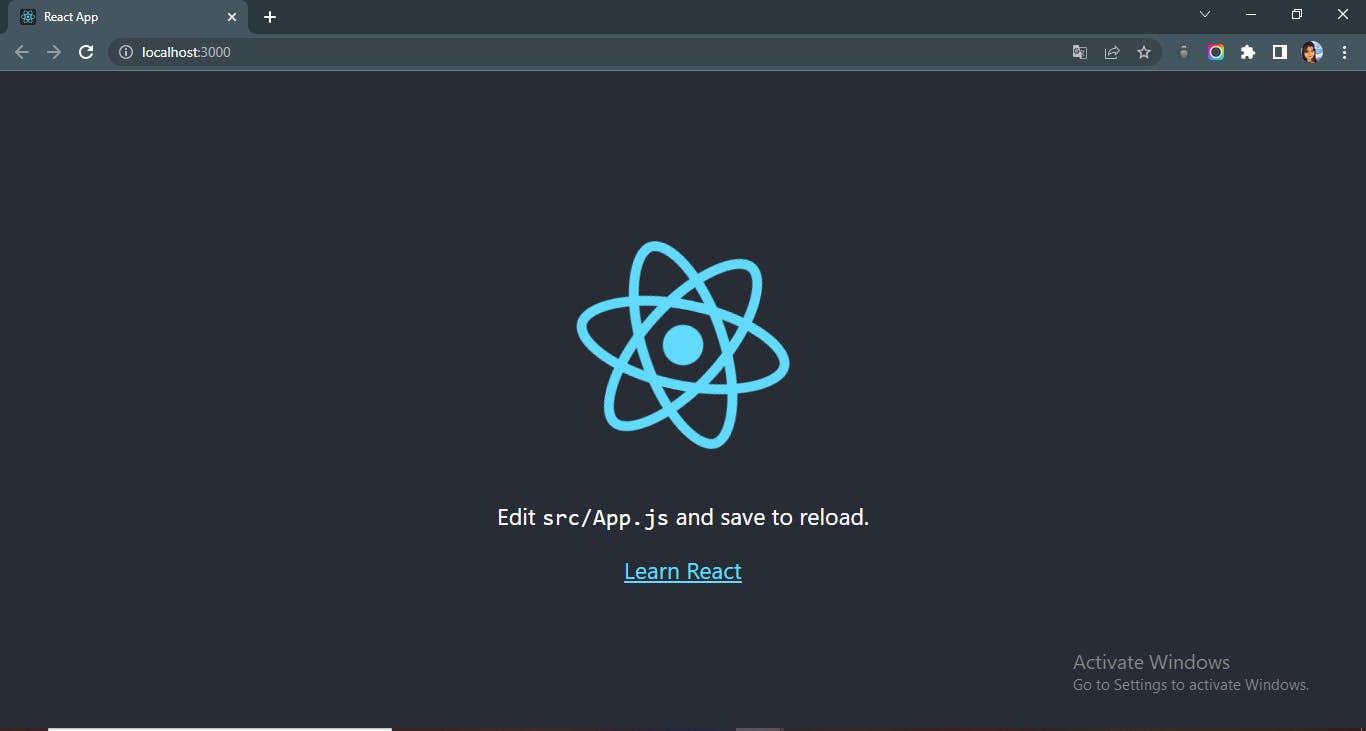
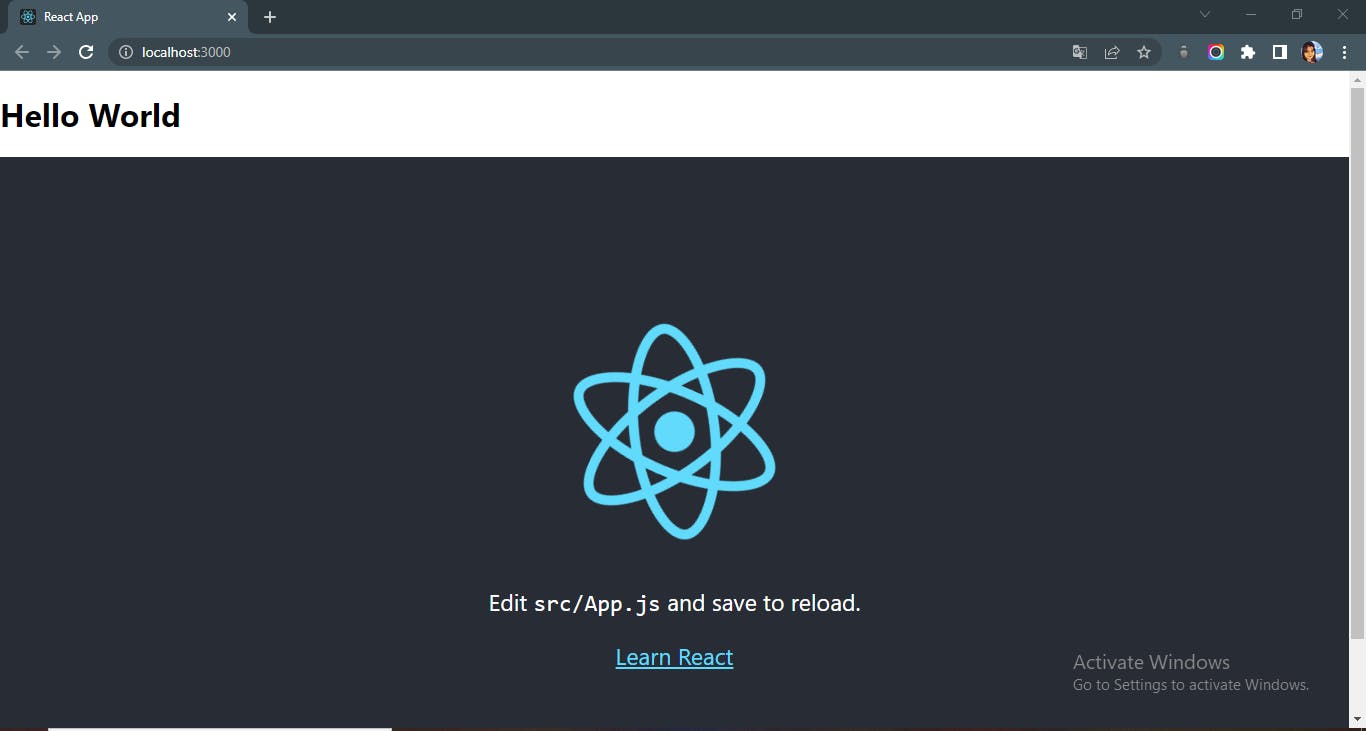
npm startin your terminal to see your app running locally at localhost:3000 You'll see the following image when your app runs locally on your computer.
Understanding the file structure 📂
You might get scared of watching the huge codebase i.e., the files and folders after you have created your React app. Some people might run like this shutting down their computers.
But no need to worry because I'm here to help you. Open up the folder called my-app in Visual Studio Code. You'll see the folders somewhat like this.
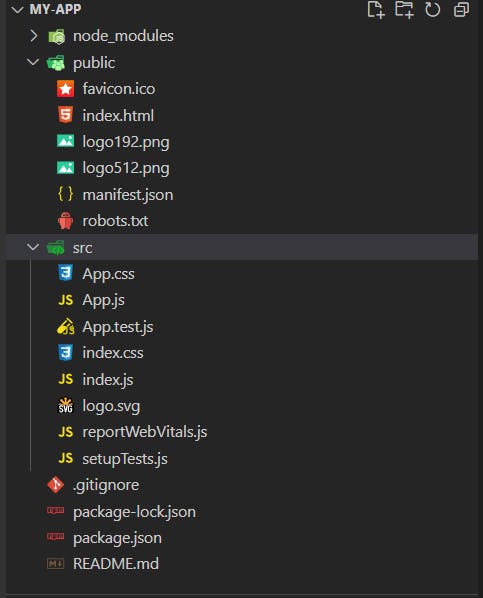
Now, here forget about the node modules folder as it only contains the packages and dependencies needed to make our ReactJS application. It got installed when we run our first command npx create-react-app my-app. So, we'll not be dealing with that folder, just keep it as it is.
Then comes the public folder. It contains some images and other files along with the index.html. Now here we only have to focus on our index.html file and others are not needed currently. The index.html file will contain the following:
<div id="root"></div>
Here the root is used in index.js file which is inside the src folder to render the pages locally on localhost.
⚠One important thing is that do not keep any secrets or credentials inside this folder as it will be leaked since it's a public folder.
Next comes the src folder. It contains various javascript and CSS files. Heading over to the index.js file you can see the way they're creating ReactDOM and elements and rendering web pages. Then there are 2 stylesheets - index.css and App.css which are used for styling the pages. The main styling lies under App.css for which you can visualize the beautiful web page running locally on your localhost. Now, let's see the App.js file where we'll be working and writing our code to make our own websites. You'll find some HTML and javascript together in this file. You might get confused by this, but don't be because this is known as JSX.
Understanding JSX 🔎
JSX stands for Javascript XML. It is the syntax extension of Javascript which allows HTML to co-exist with Javascript in React. This feature ensures that all the code remains unified to supply the developer with the best possible experience. It also confirms that all files aren’t spread at various locations.
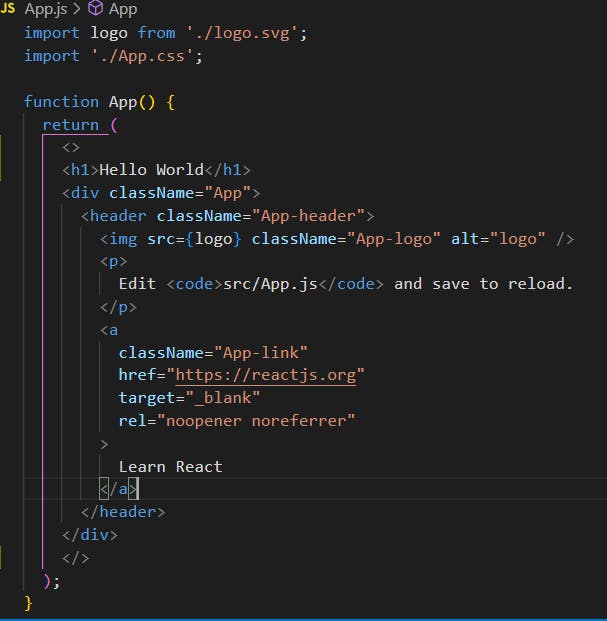
JSX in simple terms is like HTML wearing the crown of JavaScript. Let's see the App.js file inside the src folder. It looks like this:

The highlighted part is known as JSX.
Points to remember while using JSX:
- You have to write "className" instead of "class" as class is the reserved keyword in Javascript
- In place of "for" you have to use "htmlFor"
- JSX fragment feature: With return() we can return only one tag or Element. If you want to return two elements using JSX, then you have to use the JSX Fragment Feature or cover the whole content inside one element. For example, if we want to return the content of an H1 tag and Div tag together we will be using a JSX fragment ( <>.....</>).
Code:
Output:
You can learn more about JSX from here.
Conclusion
React is a very popular framework in today's world and also very demanding in getting jobs.
Some resources to learn ReactJS
- React documentation
- CodeWithHarry ReactJS playlist
- Reactjs - Learn React, Practically
- React-Play - It's an open source project you can contribute to made by Tapas Adhikary
- Complete React Course by freecodecamp
So, this was all about getting started with ReactJS. I hope you have understood. Feel free to give your feedback or ask questions in the comments section.
Hope this helps you. Thank you for reading, and let's connect!
Thank you for reading my blog. Feel free to subscribe to my YouTube Channel and connect on LinkedIn or Twitter. Also, feel free to support my work.😊